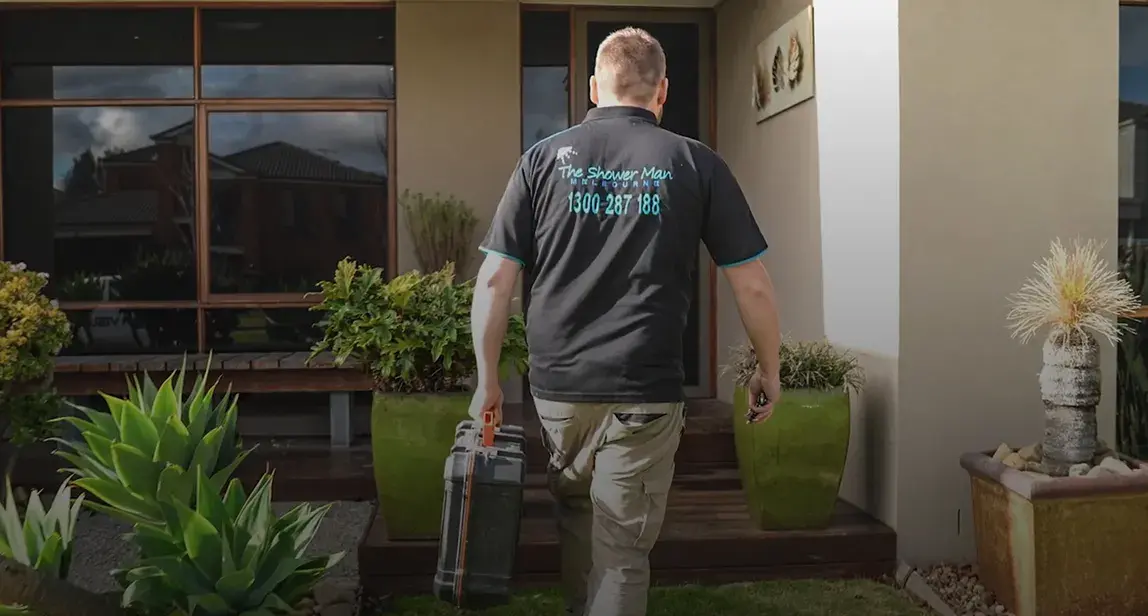
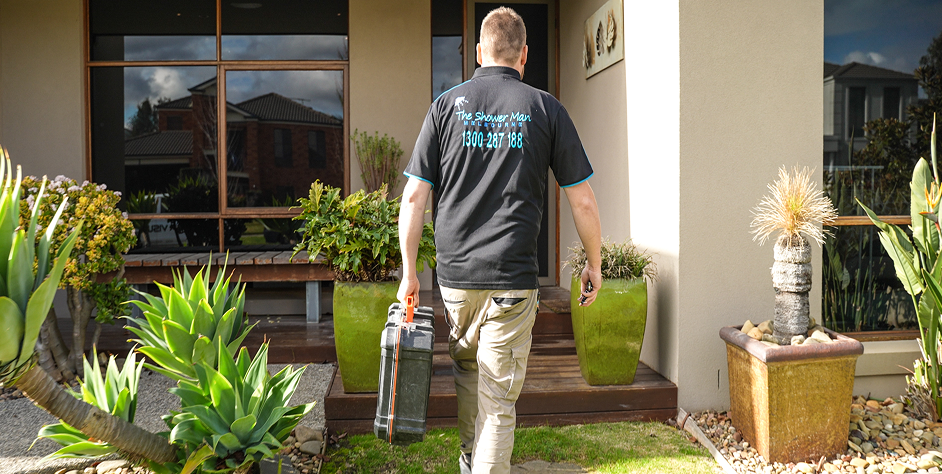
Conducted by qualified, police-checked experts — never subcontractors — this is a technical assessment, not a sales visit.
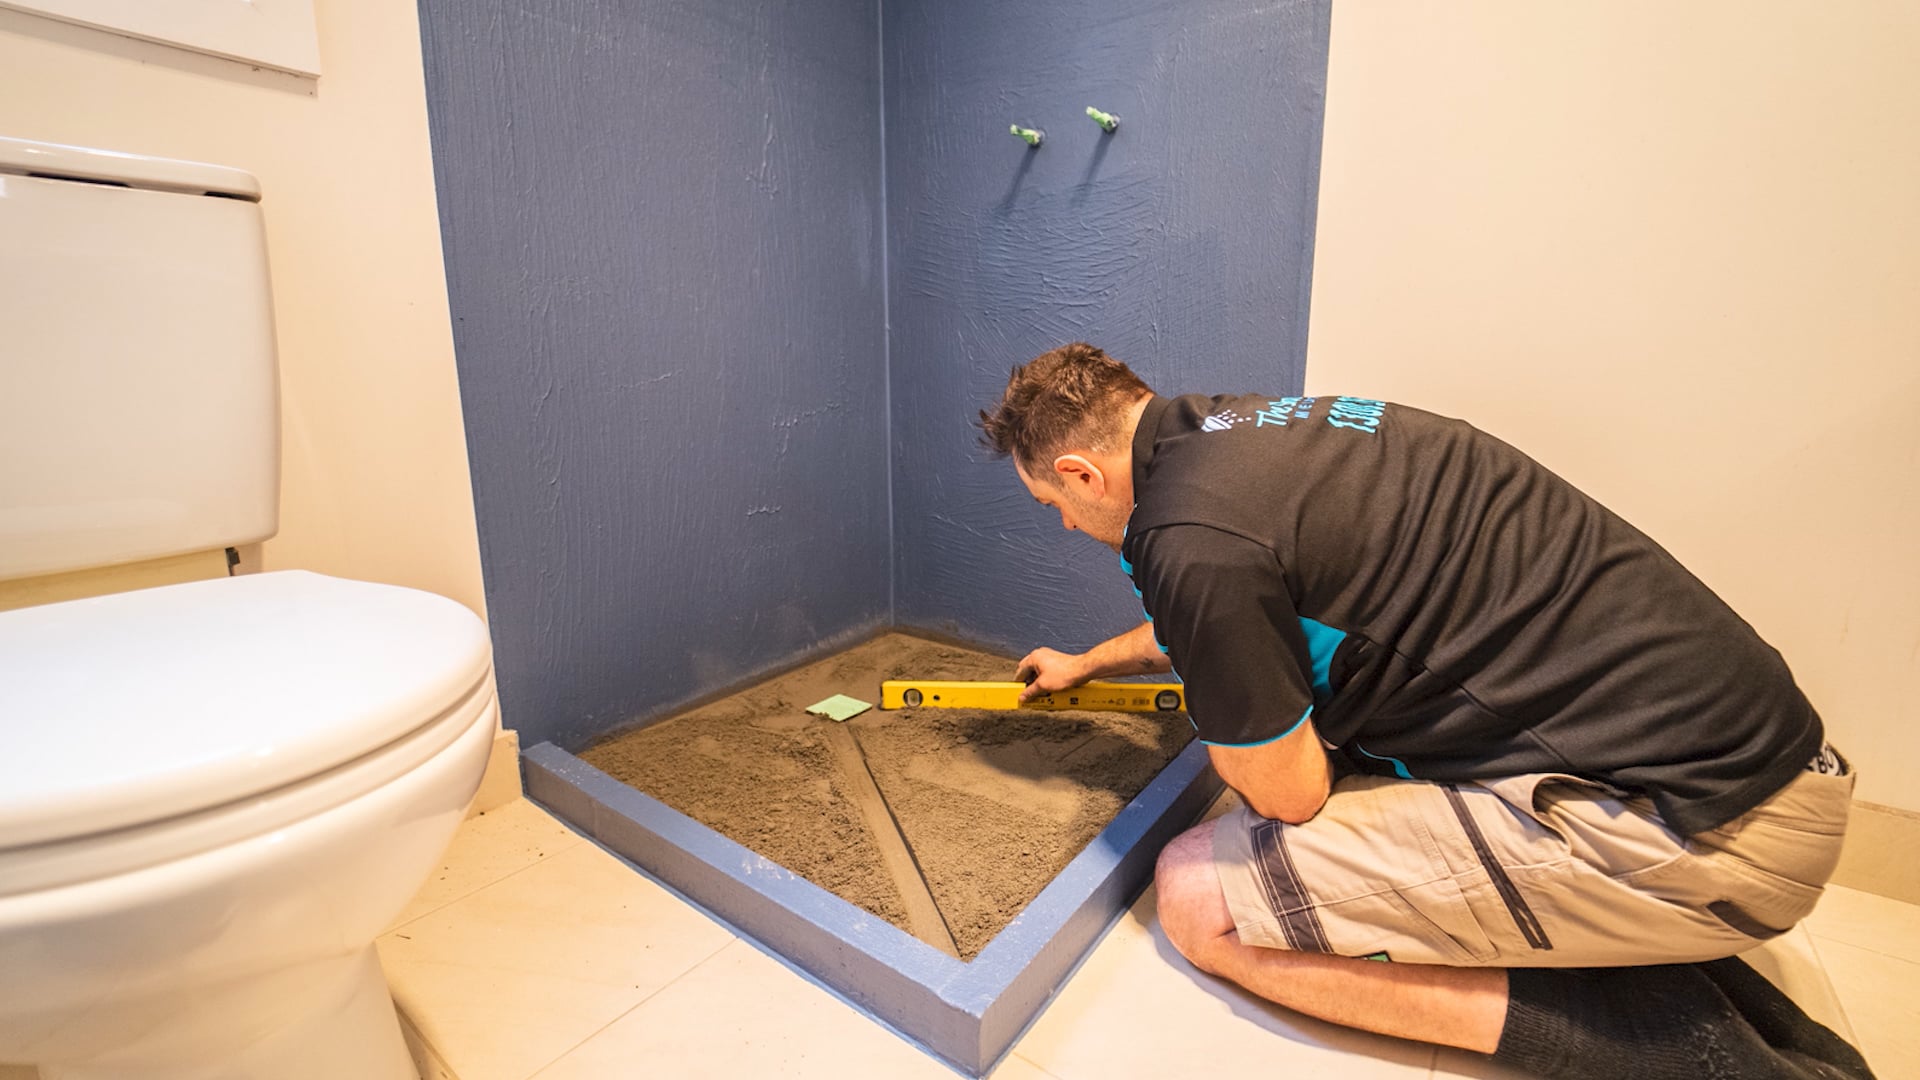
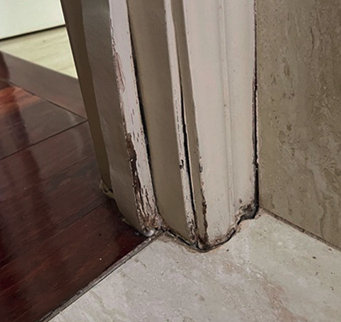
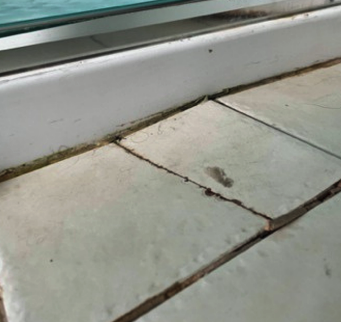
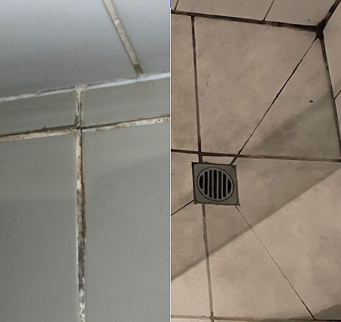
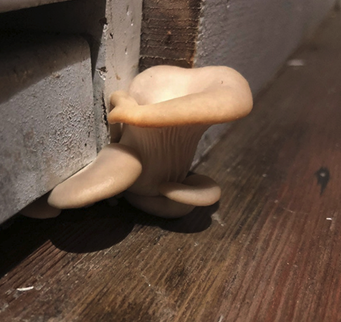
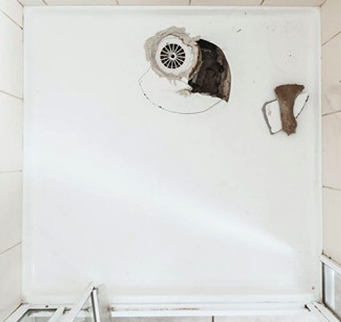
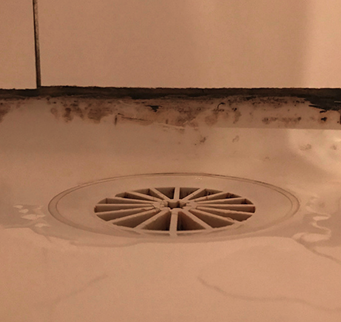
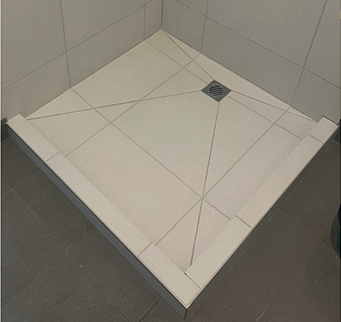
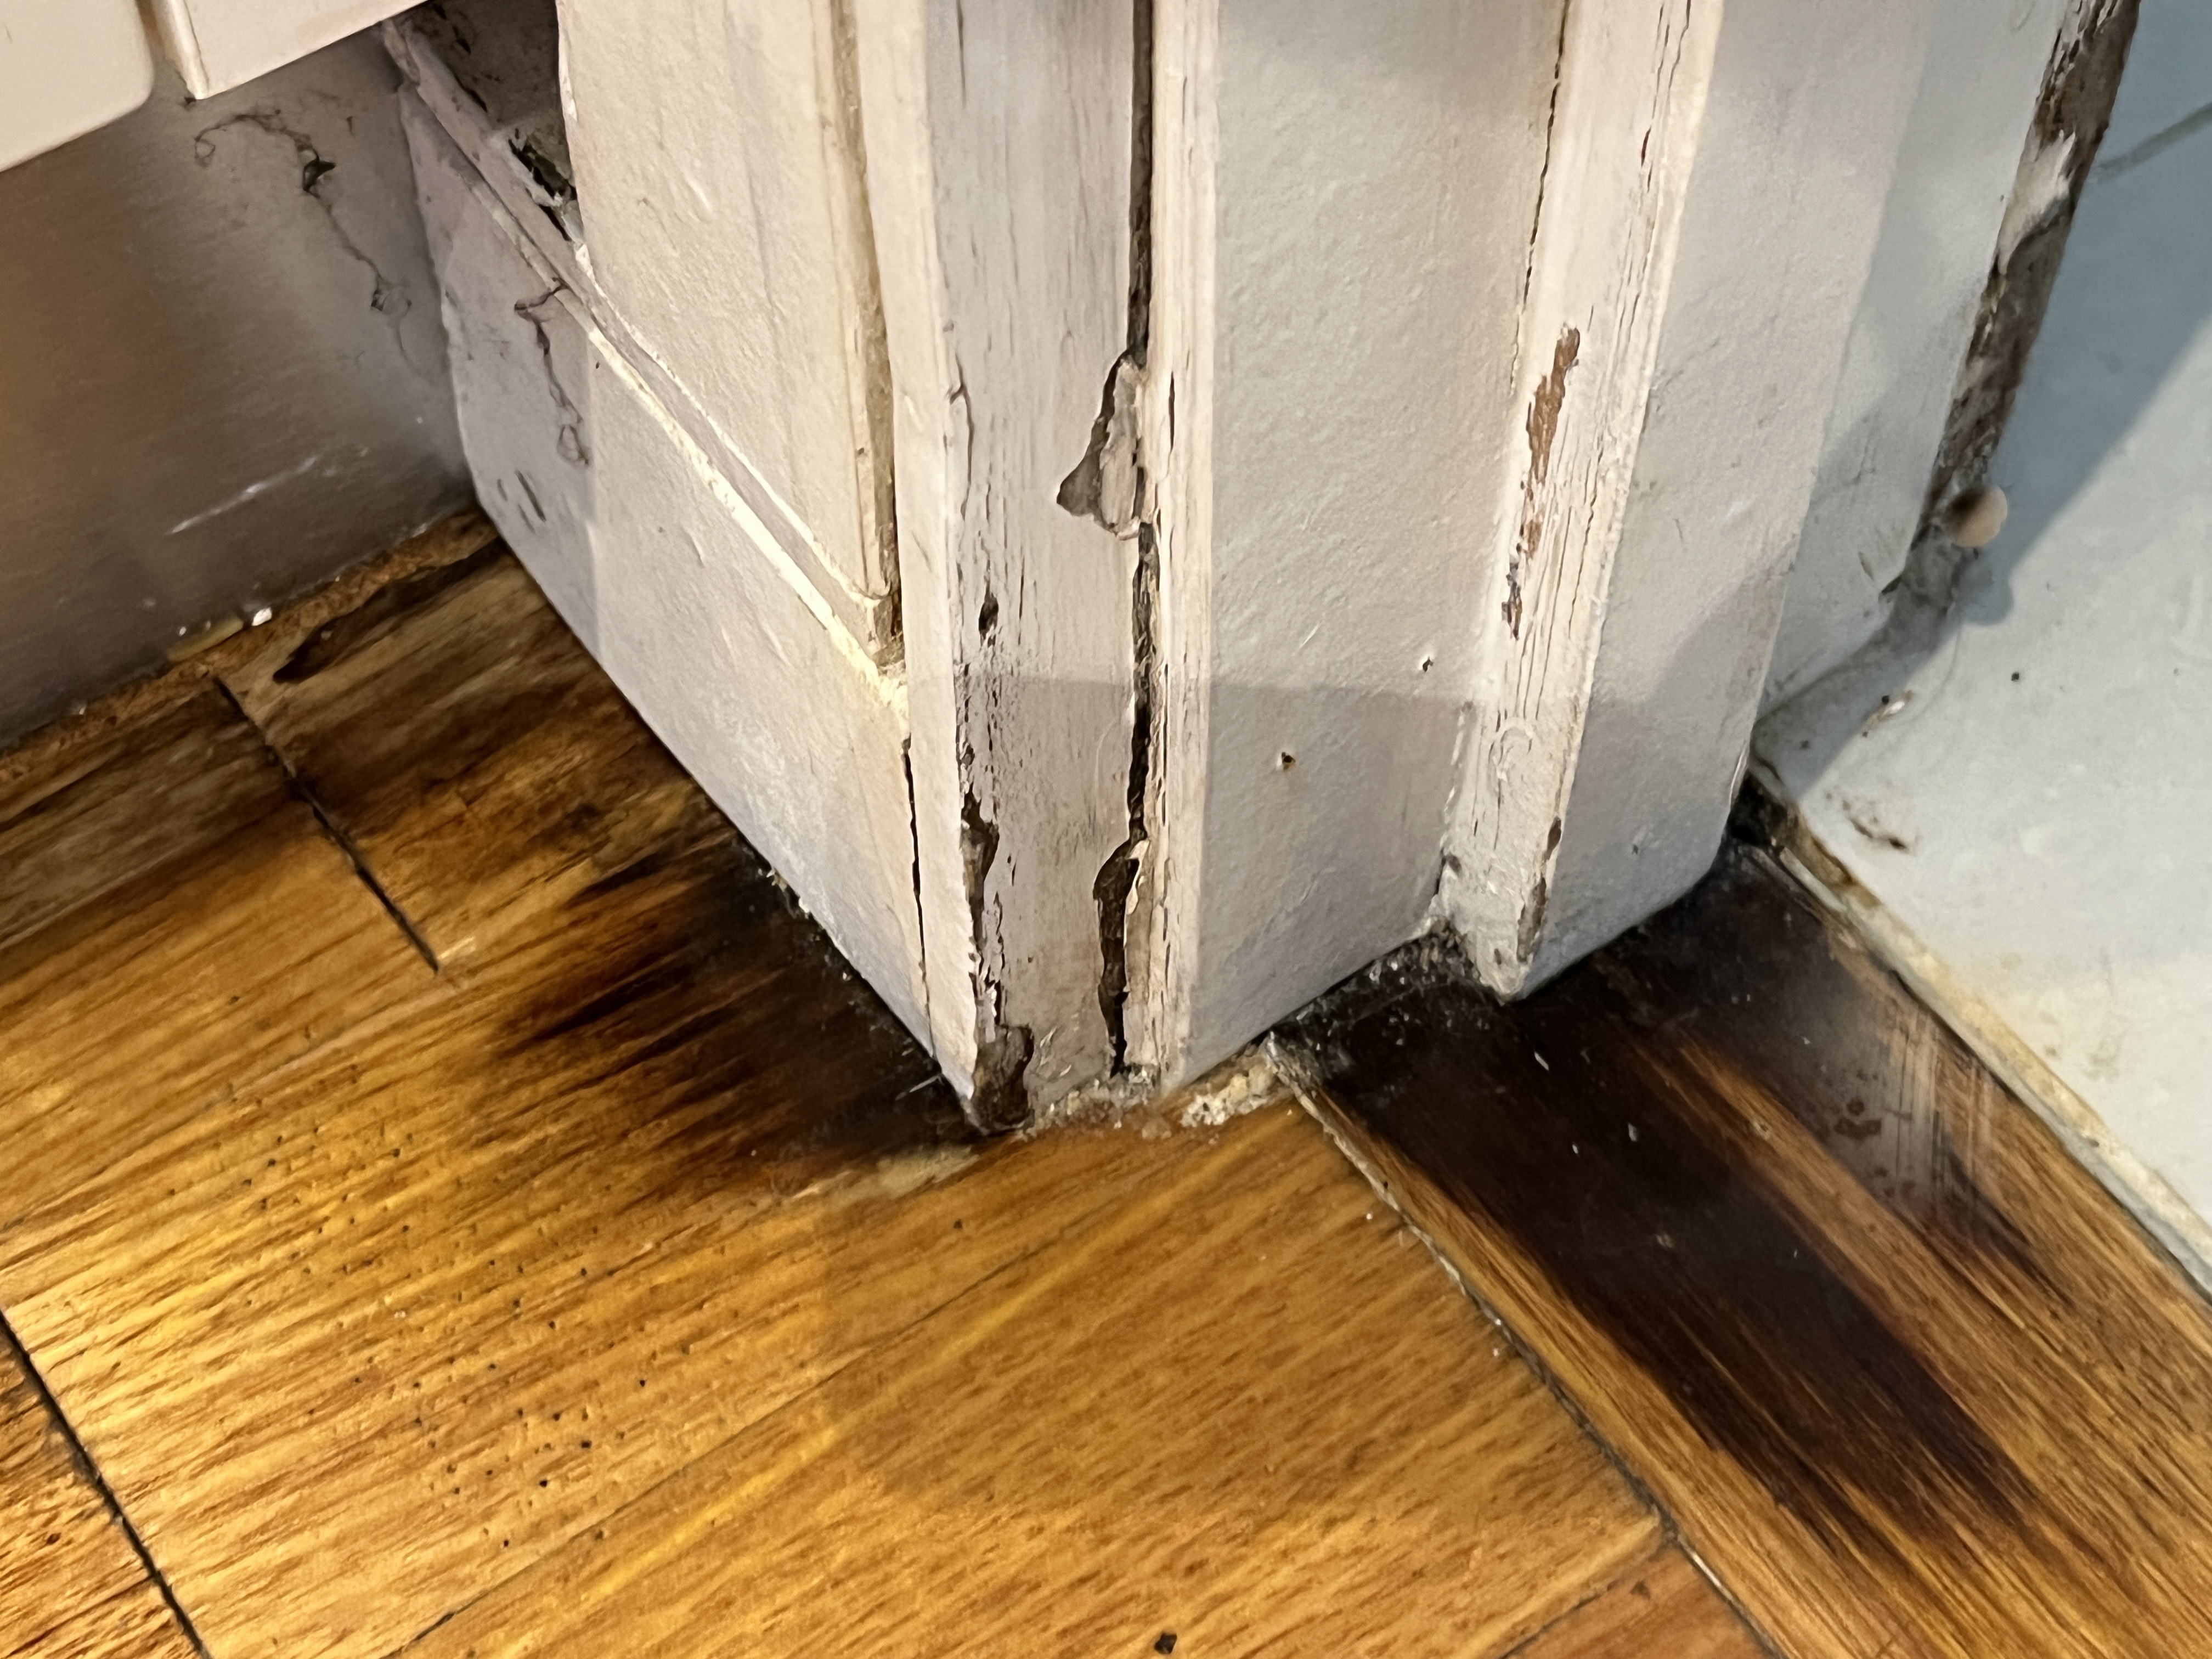
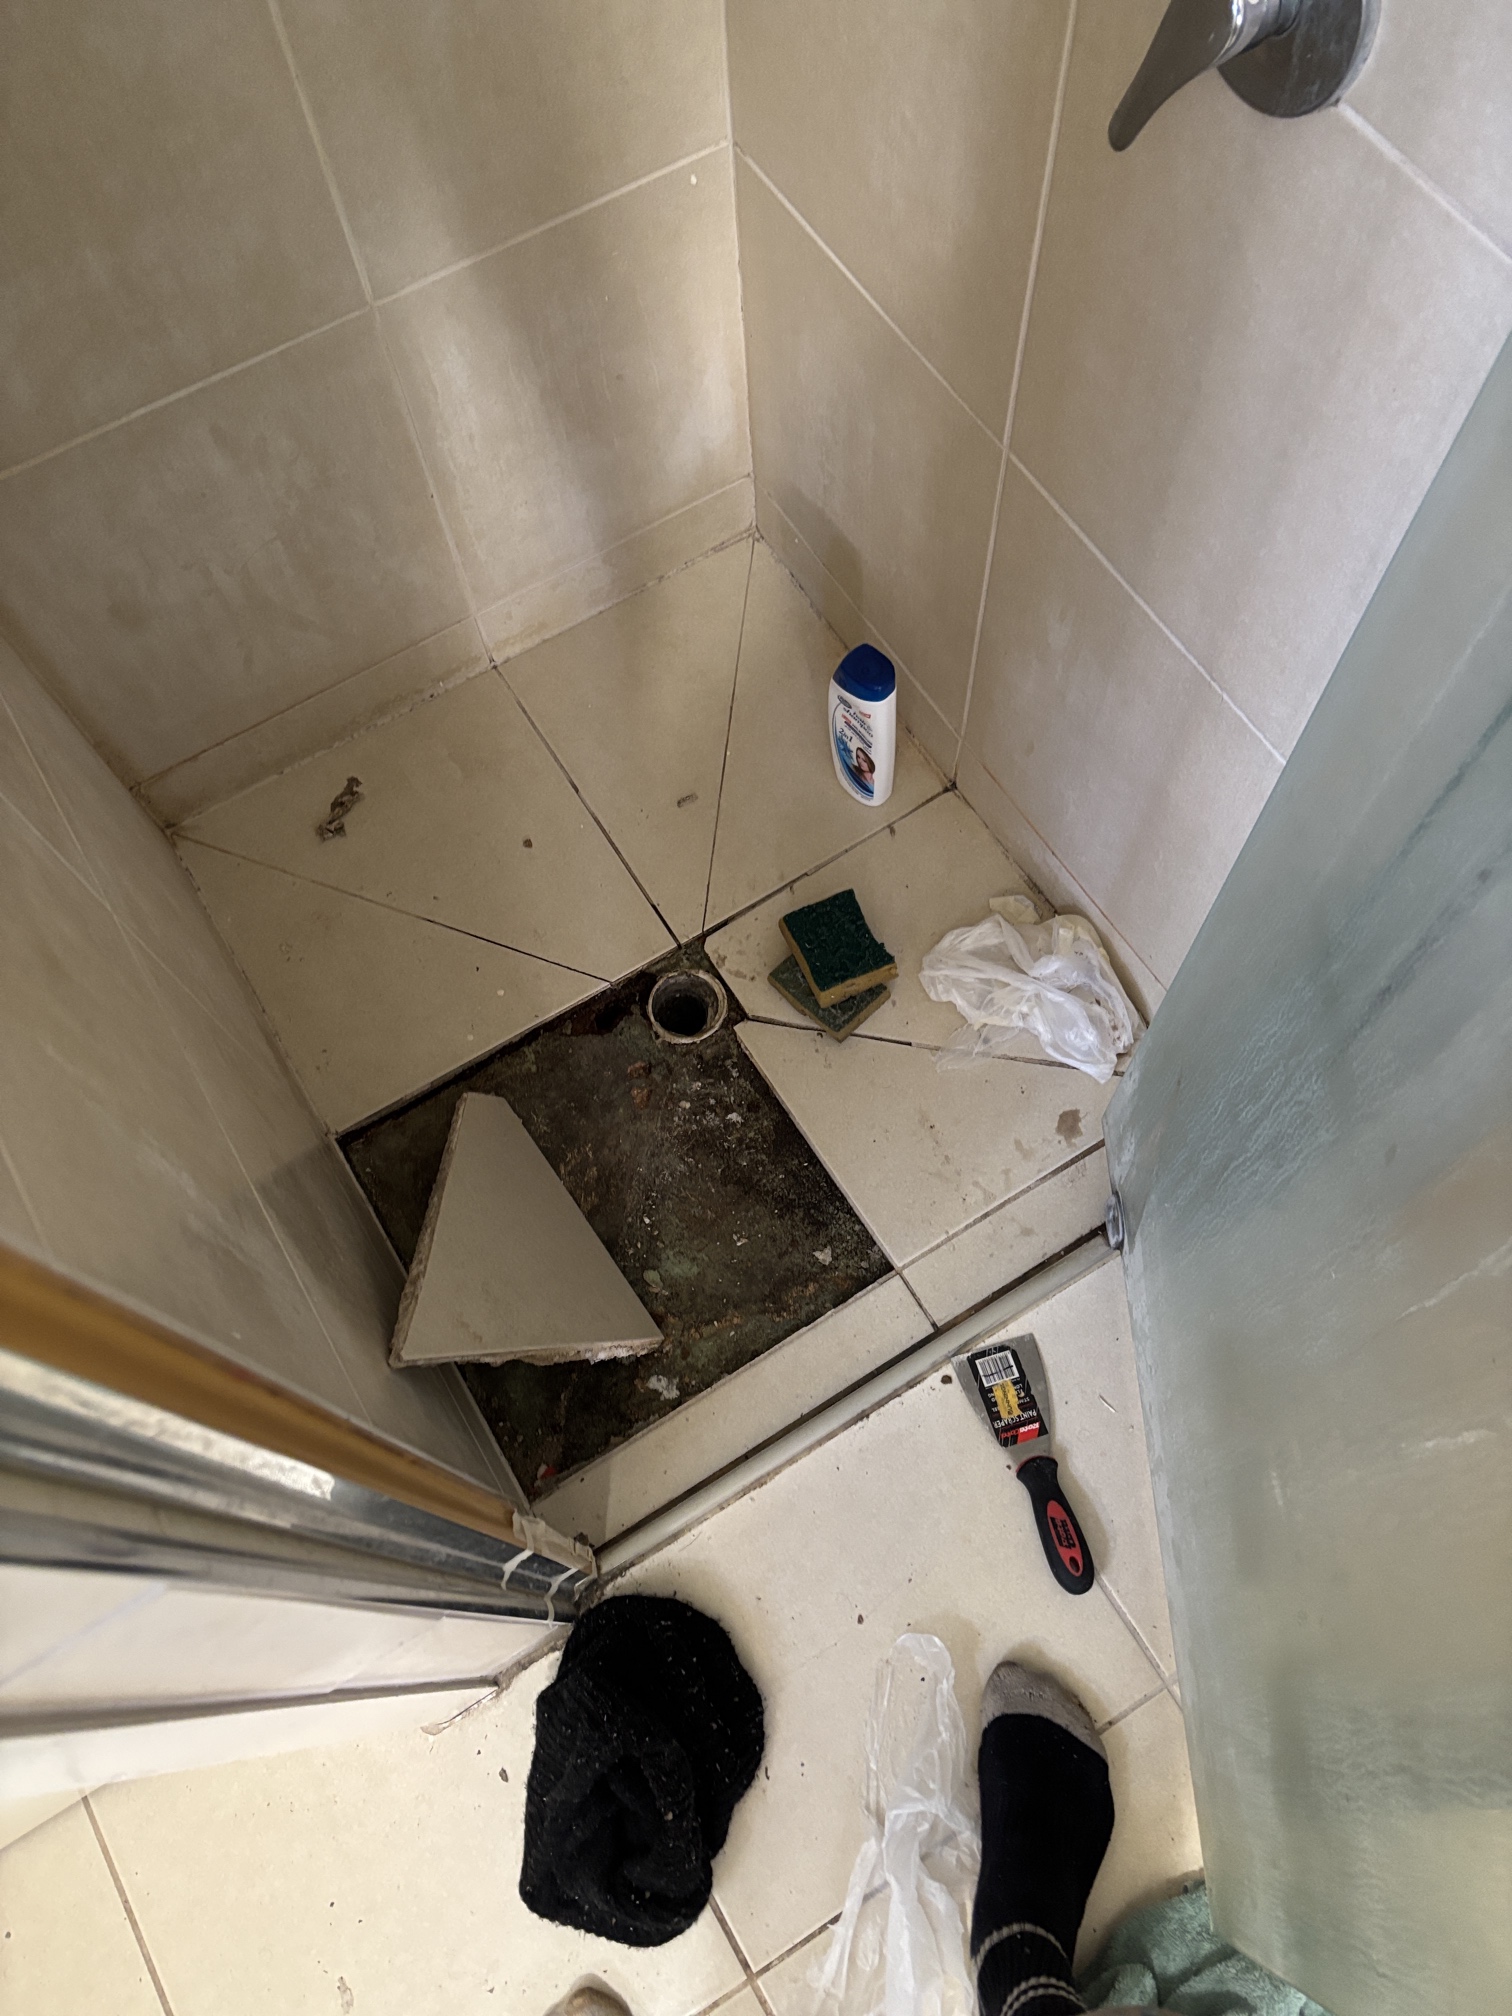
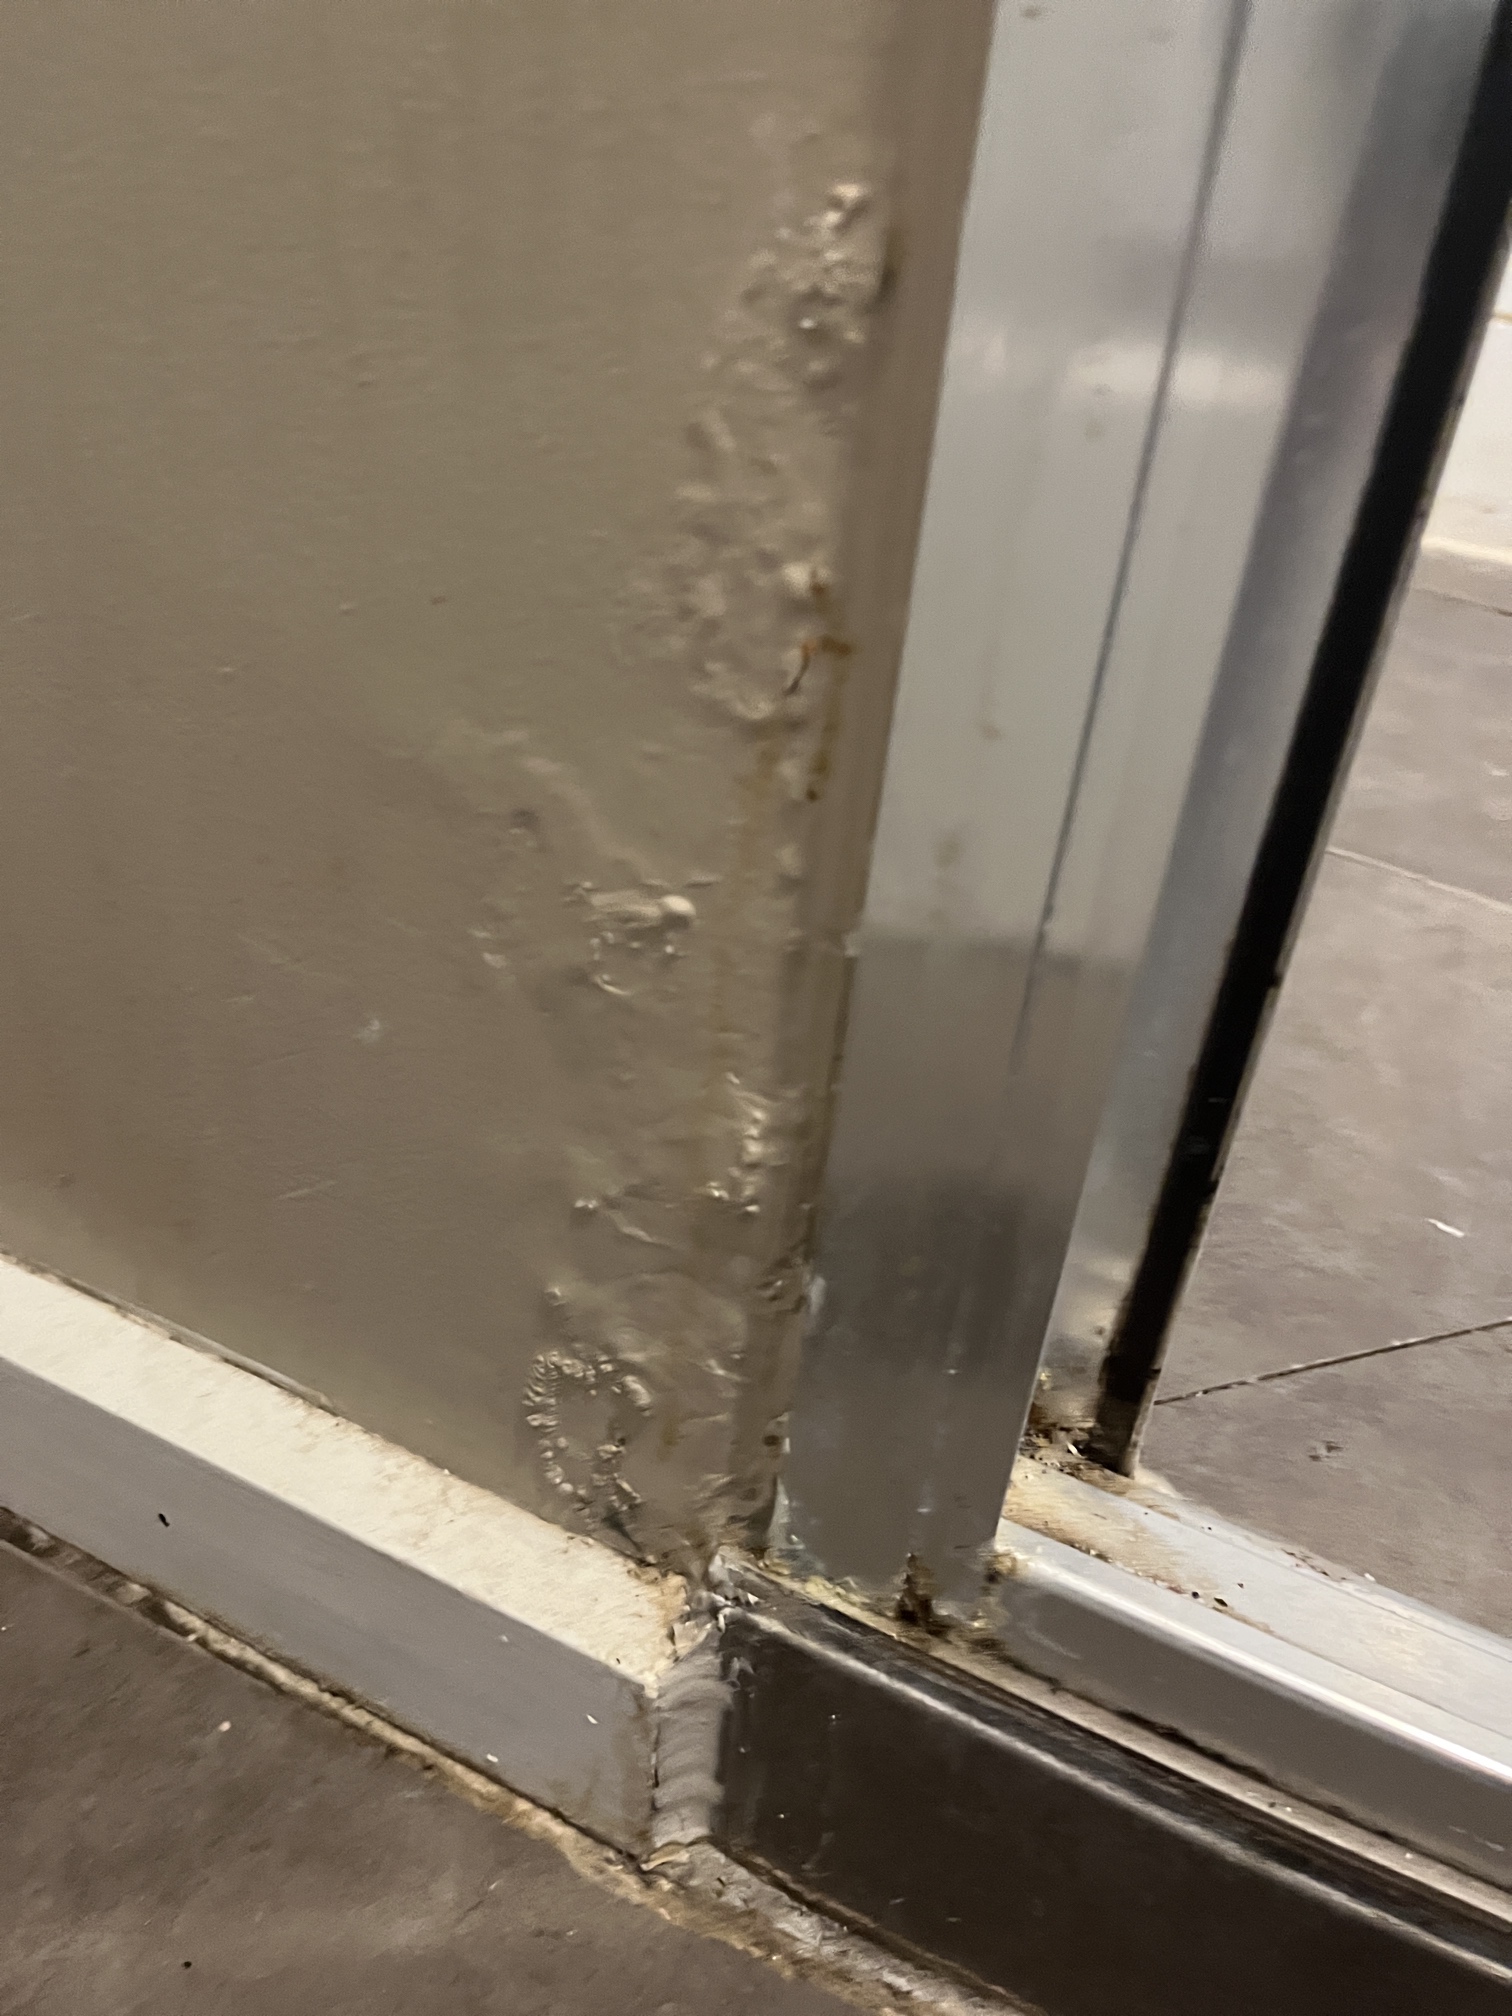
Shower problems often present with similar visible symptoms, but the consequences beneath the surface can vary significantly. What looks minor on the outside can involve damage that extends well beyond the shower area, affecting walls, floors, or structural elements of the bathroom.
This inspection works because it connects what can be seen on the surface with what must be done to resolve the issue properly. Through on-site compliance checking, moisture testing, and system-level assessment, we confirm how the shower has failed and how far the impact extends, so the solution is based on certainty rather than assumption.
By confirming the correct scope upfront, this process avoids trial-and-error fixes, repeated disruption, and the compounding cost of repairs that don’t address the underlying system failure. The outcome is a clear, fixed-price plan sized to the true condition of the bathroom, not an under-scoped repair that needs revisiting later.
Why this level of inspection is uncommon
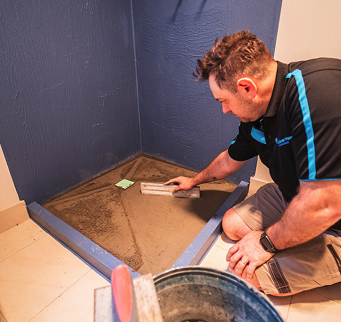
Accurately confirming the correct outcome requires more than trade skill. It requires the ability to recognise failure patterns, understand concealed water behaviour, and translate that knowledge into a build strategy that permanently resolves the issue. This capability is developed through years of specialising exclusively in failed showers, not through general repair work.
Optional documentation ✔
For clients who require formal written documentation, a detailed defect and compliance report can be provided as an optional add-on. Most homeowners do not need this to proceed with a permanent solution.
This inspection is about removing uncertainty, protecting your home, and ensuring the solution you move forward with is the one that actually works


.jpg)


.jpg)